Classic Red Candy Apples
Highlighted under: Butter, Sugar & Flour
I absolutely love making Classic Red Candy Apples, especially during the fall season! There's something so nostalgic about the bright red coating and the crunchy bite that brings back childhood memories of fairs and carnivals. Each apple is perfectly balanced with just the right amount of sweetness, making them a delightful treat. Whether I’m enjoying them with family or sharing them at a gathering, these candy apples never fail to impress. Let me show you how to create these stunning, mouth-watering delights at home!
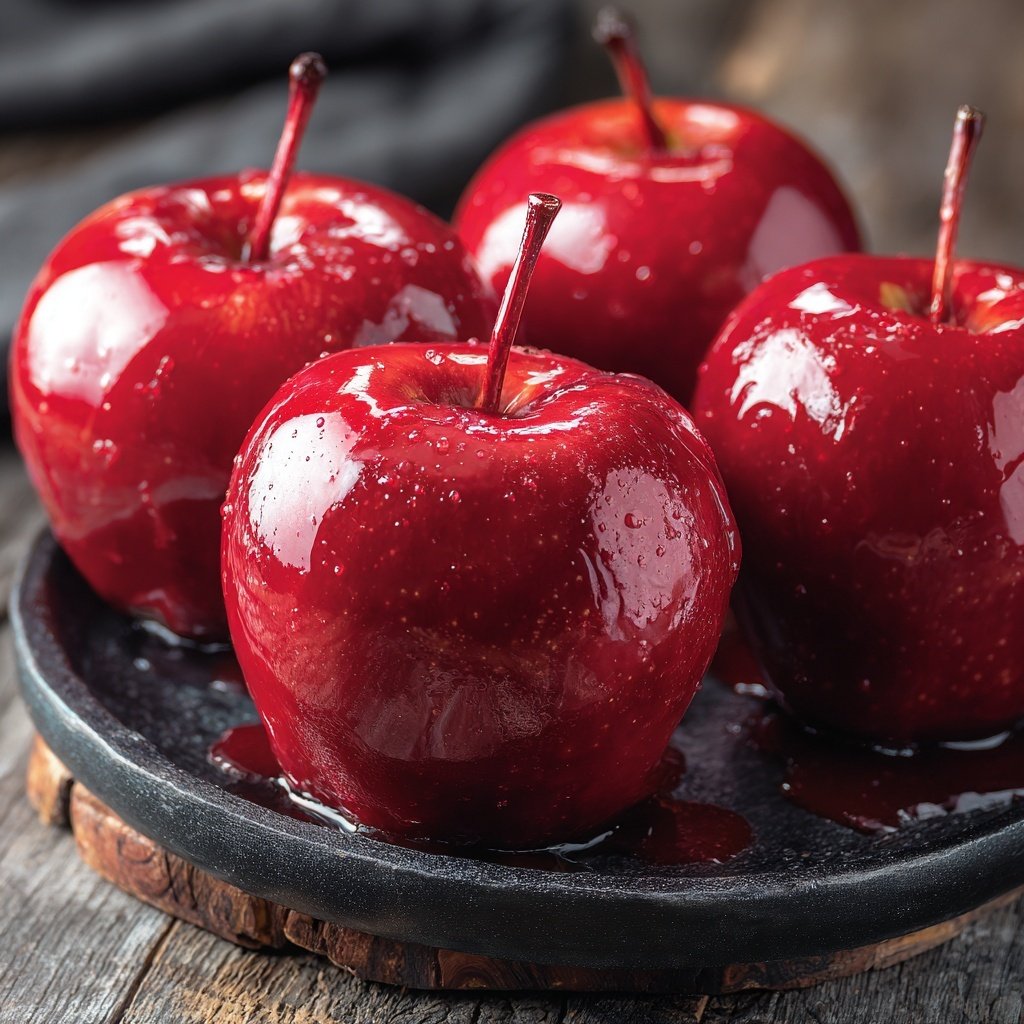
When I first made Classic Red Candy Apples, I was amazed at how easy it was to achieve that professional candy coating right in my own kitchen. The combination of sugar and corn syrup creates a shiny, hard candy shell that’s not just visually stunning but also adds a wonderful crunch. I found that the key is to ensure the apples are completely dry before dipping, as moisture can prevent the candy from adhering properly.
Over the years, I’ve tried different variations of flavors and colors, but sticking to the classic red always feels special. I even enjoy experimenting with different types of apples, from tart Granny Smith to sweet Fuji, to change up the flavor profile while keeping that iconic look. Trust me, it's a treat well worth the effort!
Why You'll Love This Recipe
- Nostalgic flavors that bring back childhood memories
- Simple ingredients that allow for customization
- A fun project to do with friends or family
Choosing the Perfect Apples
When making Classic Red Candy Apples, the choice of apples significantly influences the final product. I recommend using firm, tart apples like Granny Smith or Honeycrisp. Their crisp texture provides a satisfying crunch when biting into the candy coating, and their natural acidity balances the sweetness of the candy. If you prefer a sweeter combination, Fuji or Gala apples work well too. Just be sure to wash and dry the apples thoroughly, as any moisture can prevent the candy from adhering properly.
The size of the apples also matters. Medium-sized apples are ideal because they offer a good ratio of candy coating to the fruit itself. If you opt for larger apples, you may need to scale up the candy mixture to ensure each apple is fully coated. Additionally, using organic apples can enhance the flavor and avoid any chemical residues, providing a tasty yet healthier option for your candy apples.
Mastering the Candy Coating Technique
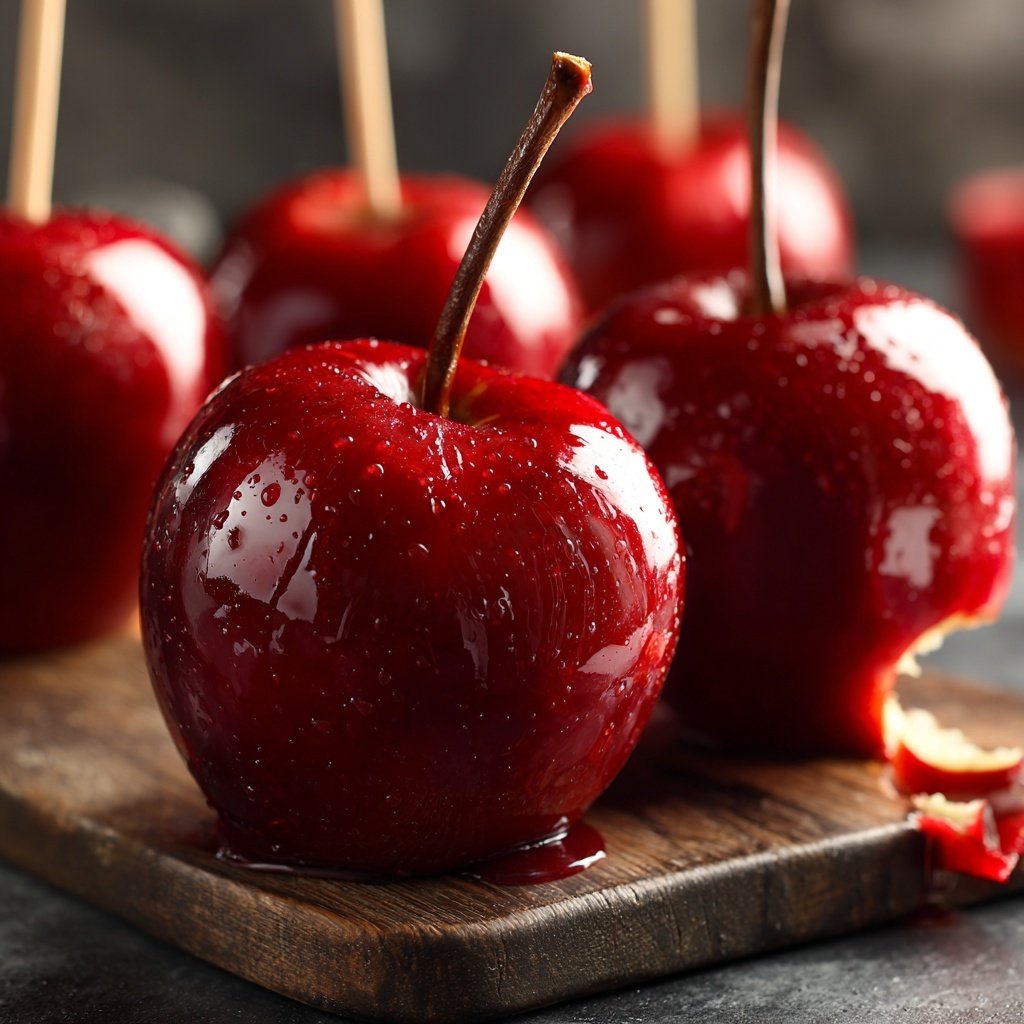
Achieving the right temperature for the candy coating is crucial for a successful candy apple. Use a candy thermometer, and heat the mixture until it reaches precisely 300°F, known as the hard crack stage. At this stage, the syrup reaches a glass-like consistency, ensuring that your candy coating will be crisp and shatter-like when bitten into. If the mixture doesn’t reach this temperature, the coating may remain sticky and not harden properly.
Once your syrup is ready, work quickly when dipping the apples. To achieve an even coating, immerse each apple in the syrup at an angle, allowing it to spin slightly as you lift it out. This helps create a smoother, more even layer of candy while encouraging excess syrup to drip off. If the coating appears thick or clumpy, you may have either cooled it too much or not allowed sufficient time to let it drip off. Keep practicing until you find that perfect dip!
Ingredients
Gather these simple ingredients for the best results:
Ingredients
- 8 medium-sized apples
- 2 cups granulated sugar
- 1/2 cup corn syrup
- 3/4 cup water
- 1 teaspoon red food coloring
- 1 teaspoon vanilla extract
- Popsicle sticks or skewers
Ensure that your apples are washed and dried thoroughly before starting.
Instructions
Follow the steps carefully to ensure a successful candy coating:
Prepare the Apples
Insert popsicle sticks into the top of each apple, making sure they are secure.
Make the Candy Coating
In a saucepan, combine sugar, corn syrup, and water. Stir over medium heat until the sugar has dissolved.
Add Color and Flavor
Once the mixture boils, stop stirring and let it cook until it reaches 300°F (hard crack stage). Remove from heat and stir in the food coloring and vanilla.
Dip the Apples
Quickly dip each apple in the hot candy mixture, swirling to coat evenly. Allow excess candy to drip off.
Cool and Set
Place the coated apples on a parchment-lined baking sheet to cool until hardened.
Enjoy your candy apples fresh for the best taste!
Pro Tips
- For added flavor, you can sprinkle crushed nuts or candy on the hot coating before it sets.
Storage and Make-Ahead Tips
Candy apples are best enjoyed fresh, but if you need to prepare them ahead of time, store them in an airtight container at room temperature for up to two days. Avoid refrigeration, as this can cause the candy coating to soften. If you anticipate needing a longer shelf life, consider preparing the apples and coating them with chocolate instead, which is more forgiving in terms of texture over time. However, a freshly coated classic candy apple is always the best choice!
If you want to experiment with variations, prepare some apples coated in chocolate or even caramel before dipping them in candy. It adds an exciting layer of flavor and texture to your treat. Just make sure the caramel or chocolate layer is set before applying the candy coating. This will not only enhance the taste but also provide a unique spin on the classic recipe.
Troubleshooting Common Issues
If you find your candy coating crystallizing, this might be due to the sugar stirring while cooking. Try avoiding any agitation after the mixture starts boiling. If sugar crystals form, you can add a drop of lemon juice to help dissolve them. Always keep the heat steady and avoid sudden changes to temperatures to maintain a smooth consistency.
Should your candy coating not harden properly, it may be due to insufficient cooking temperature or humidity in your kitchen. If the candy isn’t firming up, you can reheat the coated apples in a preheated oven at low temperatures (around 200°F) for a few minutes to help them reset. Remember, your environment does play a role in candy making, so be mindful of your kitchen’s conditions!
Questions About Recipes
→ Can I use different types of apples?
Absolutely! Try using Granny Smith for a tart flavor or Fuji for something sweeter.
→ How do I store leftover candy apples?
Store in a cool, dry place in an airtight container to keep them fresh, but they are best enjoyed within a few days.
→ What if the candy coating is too thick?
If the coating is too thick, it may be due to not cooking the sugar mixture long enough. Ensure it reaches 300°F for a proper candy texture.
→ Can I make these in advance?
Candy apples are best made the day of serving, as they can lose their crispness.
Classic Red Candy Apples
Created by: Rosie Mitchell
Recipe Type: Butter, Sugar & Flour
Skill Level: Easy
Final Quantity: 8 servings
What You'll Need
Ingredients
- 8 medium-sized apples
- 2 cups granulated sugar
- 1/2 cup corn syrup
- 3/4 cup water
- 1 teaspoon red food coloring
- 1 teaspoon vanilla extract
- Popsicle sticks or skewers
How-To Steps
Insert popsicle sticks into the top of each apple, making sure they are secure.
In a saucepan, combine sugar, corn syrup, and water. Stir over medium heat until the sugar has dissolved.
Once the mixture boils, stop stirring and let it cook until it reaches 300°F (hard crack stage). Remove from heat and stir in the food coloring and vanilla.
Quickly dip each apple in the hot candy mixture, swirling to coat evenly. Allow excess candy to drip off.
Place the coated apples on a parchment-lined baking sheet to cool until hardened.
Extra Tips
- For added flavor, you can sprinkle crushed nuts or candy on the hot coating before it sets.
Nutritional Breakdown (Per Serving)
- Calories: 250 kcal
- Total Fat: 0g
- Saturated Fat: 0g
- Cholesterol: 0mg
- Sodium: 0mg
- Total Carbohydrates: 65g
- Dietary Fiber: 1g
- Sugars: 60g
- Protein: 0g