Crispy Sourdough Discard Brownies
Highlighted under: Butter, Sugar & Flour
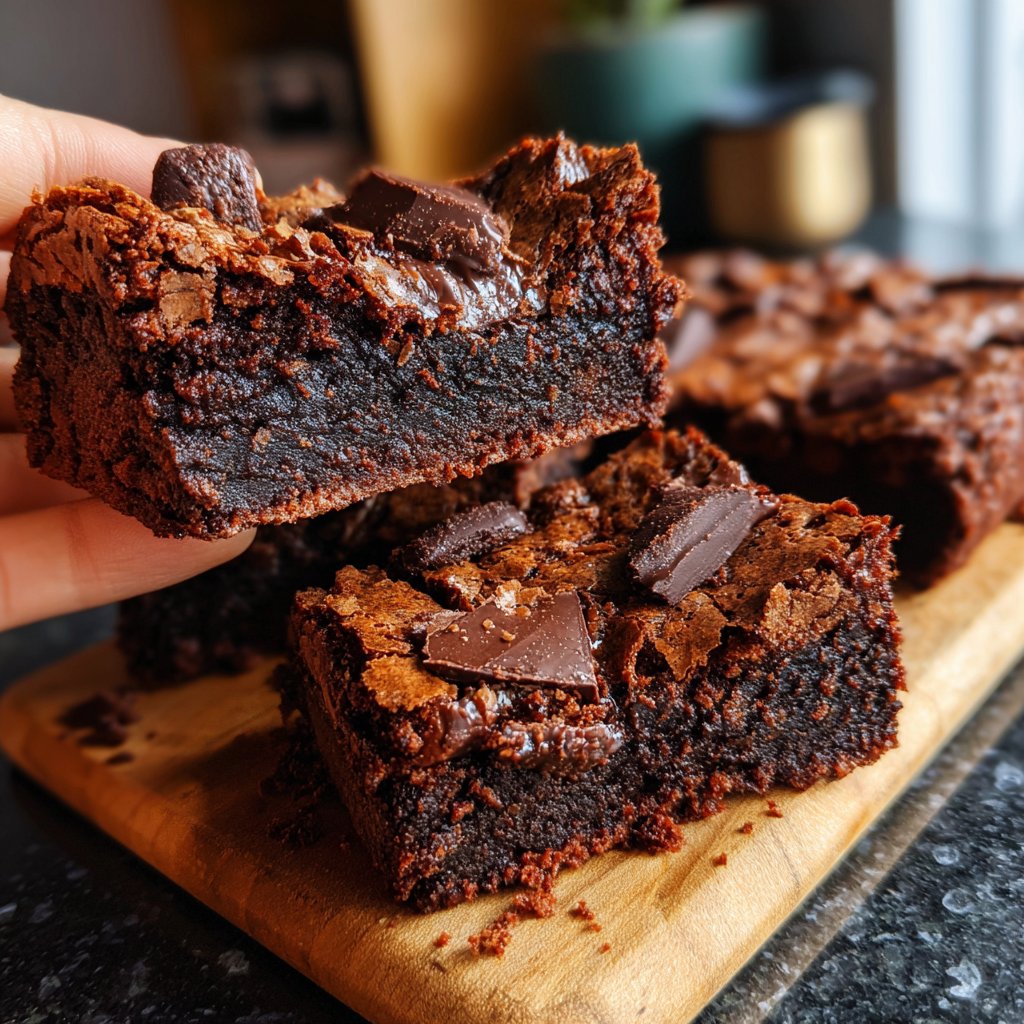
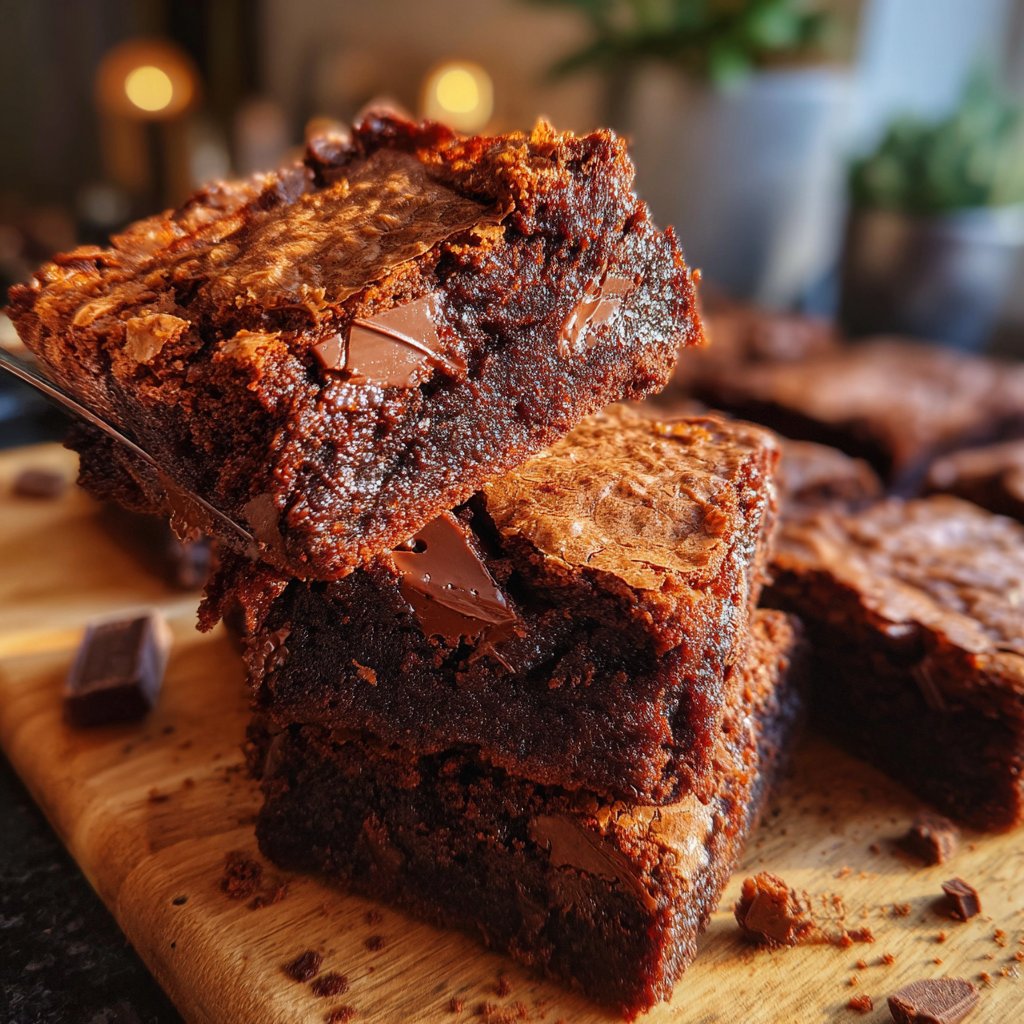
I can’t get enough of these crispy sourdough discard brownies! They combine the rich, fudgy goodness of chocolate with the tangy notes from sourdough, creating a dessert that’s both interesting and delicious. The best part? I get to repurpose my sourdough discard, ensuring nothing goes to waste while treating myself to a sweet indulgence. These brownies have a delightful crisp on the outside and a gooey center that keeps me coming back for more. Perfect for sharing or savoring solo, they are my go-to recipe!
When I first made these brownies, I was skeptical about using sourdough discard. However, I was amazed by how it added a unique depth of flavor to the chocolate, making each bite incredibly satisfying. I used a mix of dark chocolate and cocoa powder for richness, which perfectly complemented the slight tang from the sourdough.
One crucial tip I learned was to beat the sugar and eggs until fluffy before adding the other ingredients. This step not only incorporates air for a lighter texture but also enhances the overall flavor. Trust me, it’s worth the extra time!
Why You'll Love These Brownies
- Unique flavor from sourdough discard adds depth to chocolate
- Crispy outer layer with a fudgy center for the perfect texture
- Easy to whip up and ideal for using up leftover sourdough
Understanding Your Ingredients
The star ingredient of these brownies is the sourdough discard, which not only reduces waste but also contributes a unique tanginess. This acidity enhances the depth of flavor, making these brownies stand out from typical recipes. If you don’t have discard on hand, a simple substitute could be using buttermilk or yogurt, which can mimic the slight sourness, though the texture won’t be quite the same.
In this recipe, the combination of unsalted butter and granulated sugar creates a rich base that helps to achieve a shiny, crackly top. Be sure to melt the butter gently; overheating it can lead to burnt flavors in your brownies. The eggs are crucial as they help to bind the ingredients together, providing moisture and aiding in the rise of the batter.
Baking Tips for Perfect Brownies
When mixing your batter, it’s important not to overmix after adding the dry ingredients. This could lead to tough brownies instead of the desired fudgy texture. Mix just until you no longer see dry flour—small lumps are perfectly fine. For that perfect crispy top, let the brownies cool in the pan for a few minutes before transferring them to a wire rack; this step helps to set the structure.
To ensure evenly baked brownies, smoothing the batter into the pan using a spatula is a helpful technique. Additionally, if you prefer slightly underbaked brownies (for that gooey center), start checking at the 25-minute mark. A toothpick should come out with a few moist crumbs, which signals they’re ready to cool but not overbake.
Ingredients
Ingredients
Brownie Ingredients
- 1 cup sourdough discard
- 1/2 cup unsalted butter, melted
- 1 cup granulated sugar
- 2 large eggs
- 1 teaspoon vanilla extract
- 1/2 cup all-purpose flour
- 1/2 cup cocoa powder
- 1/4 teaspoon salt
- 1/2 cup chocolate chips
Make sure all ingredients are at room temperature for the best results!
Instructions
Instructions
Preheat the Oven
Preheat your oven to 350°F (175°C) and grease a 9x9-inch baking pan or line it with parchment paper.
Mix the Wet Ingredients
In a large bowl, mix the melted butter and sourdough discard until well combined. Add the sugar, eggs, and vanilla, whisking until smooth.
Combine the Dry Ingredients
In another bowl, sift together the flour, cocoa powder, and salt. Gradually fold the dry ingredients into the wet mixture until just combined.
Add Chocolate Chips
Gently fold in the chocolate chips for added richness.
Bake
Pour the batter into the prepared pan and bake for 30 minutes, or until a toothpick inserted in the center comes out with a few moist crumbs.
Cool and Serve
Allow the brownies to cool in the pan for about 10 minutes before transferring to a wire rack. Cut into squares and enjoy!
For an extra touch, sprinkle some sea salt on top before serving!
Pro Tips
- To ensure your brownies are truly crispy on the outside, avoid overmixing once you add the dry ingredients. This helps retain that perfect contrast in texture between the outside and the fudgy inside.
Storage and Serving Suggestions
Once cooled, these brownies can be stored in an airtight container for up to a week at room temperature. For longer storage, consider freezing them; simply wrap individual squares in plastic wrap and place them in a freezer-safe bag. They'll keep well for up to three months. To enjoy, thaw them at room temperature or pop them in the microwave for a few seconds for that fresh-out-of-the-oven taste.
These brownies shine even brighter with toppings! Consider sprinkling sea salt on top right after baking for a sweet-savory contrast. A scoop of vanilla ice cream or a dollop of whipped cream can transform these brownies into a delightful dessert. If you’re adventurous, try adding a swirl of peanut butter or caramel to the batter before baking for a delicious twist.
Variations to Explore
Feel free to customize these brownies with mix-ins to suit your taste. Chopped nuts, such as walnuts or pecans, can add a delightful crunch, while different types of chocolate chips, like dark chocolate or white chocolate, can enhance the flavor profile. For an explosion of flavor, consider adding a teaspoon of espresso powder, which will deepen the chocolate flavor without making them taste like coffee.
If you're looking to make these brownies gluten-free, substitute the all-purpose flour with a gluten-free blend. Just be mindful that the texture may vary slightly, so a blend with xanthan gum may work best to maintain the desired fudginess. With these simple tweaks, you can enjoy a gluten-free version without sacrificing the delightful experience of these crispy sourdough discard brownies.
Questions About Recipes
→ Can I use a different type of chocolate?
Absolutely! You can use semi-sweet or milk chocolate chips instead of dark chocolate, depending on your preference.
→ What if I don't have sourdough discard?
You can substitute with an equal measure of plain yogurt or buttermilk for a similar tangy flavor.
→ How should I store the brownies?
Store them in an airtight container at room temperature for up to 4 days or refrigerate for longer freshness.
→ Can these brownies be frozen?
Yes, wrap them tightly in plastic wrap and place in a freezer bag. They can last for up to 3 months in the freezer.
Crispy Sourdough Discard Brownies
Created by: Rosie Mitchell
Recipe Type: Butter, Sugar & Flour
Skill Level: Intermediate
Final Quantity: 16 brownies
What You'll Need
Brownie Ingredients
- 1 cup sourdough discard
- 1/2 cup unsalted butter, melted
- 1 cup granulated sugar
- 2 large eggs
- 1 teaspoon vanilla extract
- 1/2 cup all-purpose flour
- 1/2 cup cocoa powder
- 1/4 teaspoon salt
- 1/2 cup chocolate chips
How-To Steps
Preheat your oven to 350°F (175°C) and grease a 9x9-inch baking pan or line it with parchment paper.
In a large bowl, mix the melted butter and sourdough discard until well combined. Add the sugar, eggs, and vanilla, whisking until smooth.
In another bowl, sift together the flour, cocoa powder, and salt. Gradually fold the dry ingredients into the wet mixture until just combined.
Gently fold in the chocolate chips for added richness.
Pour the batter into the prepared pan and bake for 30 minutes, or until a toothpick inserted in the center comes out with a few moist crumbs.
Allow the brownies to cool in the pan for about 10 minutes before transferring to a wire rack. Cut into squares and enjoy!
Extra Tips
- To ensure your brownies are truly crispy on the outside, avoid overmixing once you add the dry ingredients. This helps retain that perfect contrast in texture between the outside and the fudgy inside.
Nutritional Breakdown (Per Serving)
- Calories: 250 kcal
- Total Fat: 12g
- Saturated Fat: 7g
- Cholesterol: 40mg
- Sodium: 85mg
- Total Carbohydrates: 34g
- Dietary Fiber: 2g
- Sugars: 22g
- Protein: 3g